Choosing a Trigger
A trigger is the starting whistle for your automation — the moment that tells it to begin. Just like you might set an alarm to wake up, wait for the doorbell to answer the door, or press play when you're ready, your automation can start on a timer, when another app sends it news, or when you press a button. Before picking a trigger type, the only question that matters is when do you want your automation to run?
Which trigger do I need?
| I want my automation to... | Use | Example |
|---|---|---|
| Run every day, week, or month at a specific time | Schedule | "Summarize my inbox every morning at 9 AM" |
| Run every few hours to check for updates | Schedule | "Monitor competitor prices every 2 hours" |
| Run automatically when something happens in another app | Webhook | "Process a new Stripe payment" |
| Run when a customer fills out a form or signs up | Webhook | "Qualify a lead submitted through Typeform" |
| Run only when I decide to, on demand | Manual | "Generate a report from this batch of data" |
| Run once for a specific task I need done now | Manual | "Analyze these meeting notes" |
Schedule — "run this on a timer"
A schedule trigger runs your automation at the times you set, like an alarm clock that wakes up your AI team on a recurring basis.
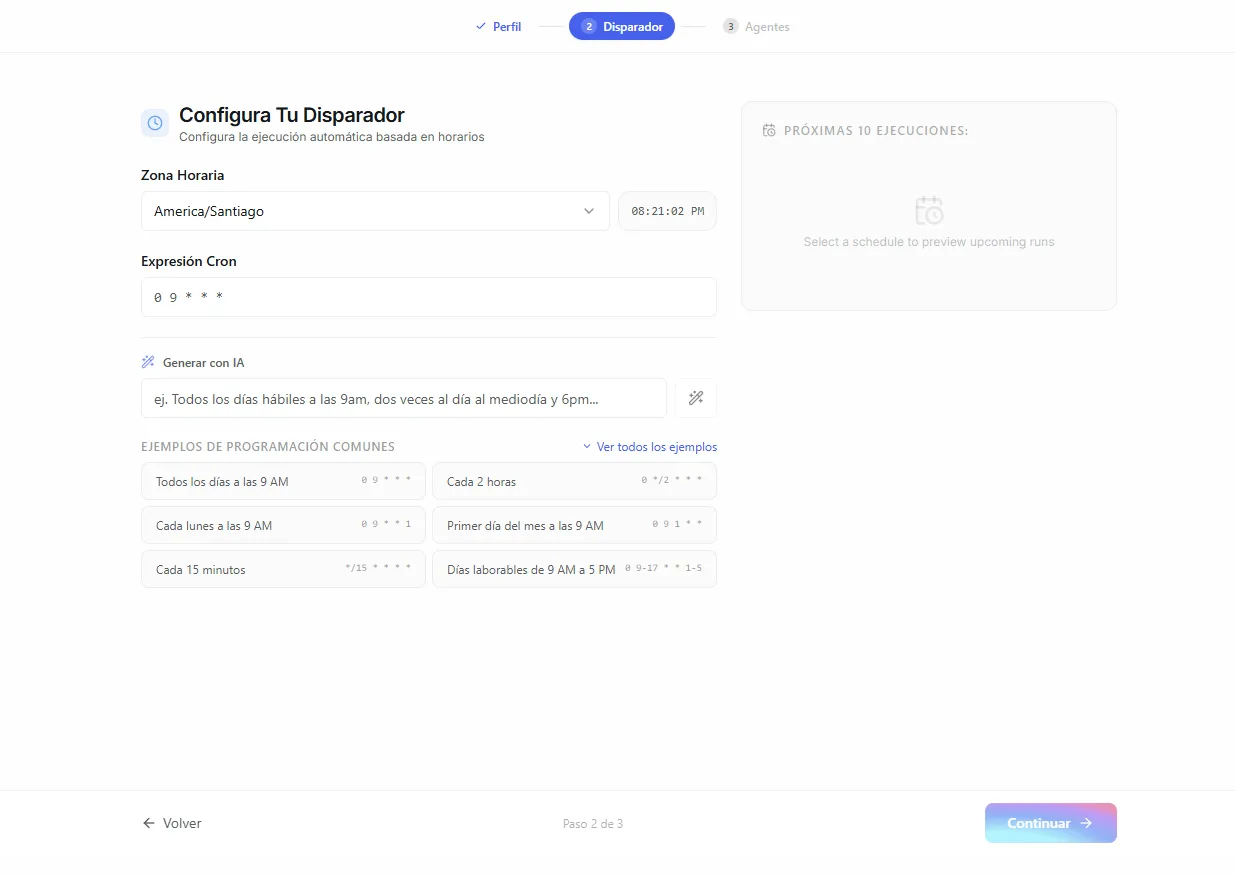 Image: The schedule configuration panel showing day picker, time selector, and frequency options
Setting up a schedule
- Select Schedule as your trigger type.
- Choose the frequency: daily, specific days of the week, or monthly.
- Set the time you want it to run.
- Review the next 5 upcoming runs to confirm it looks correct.
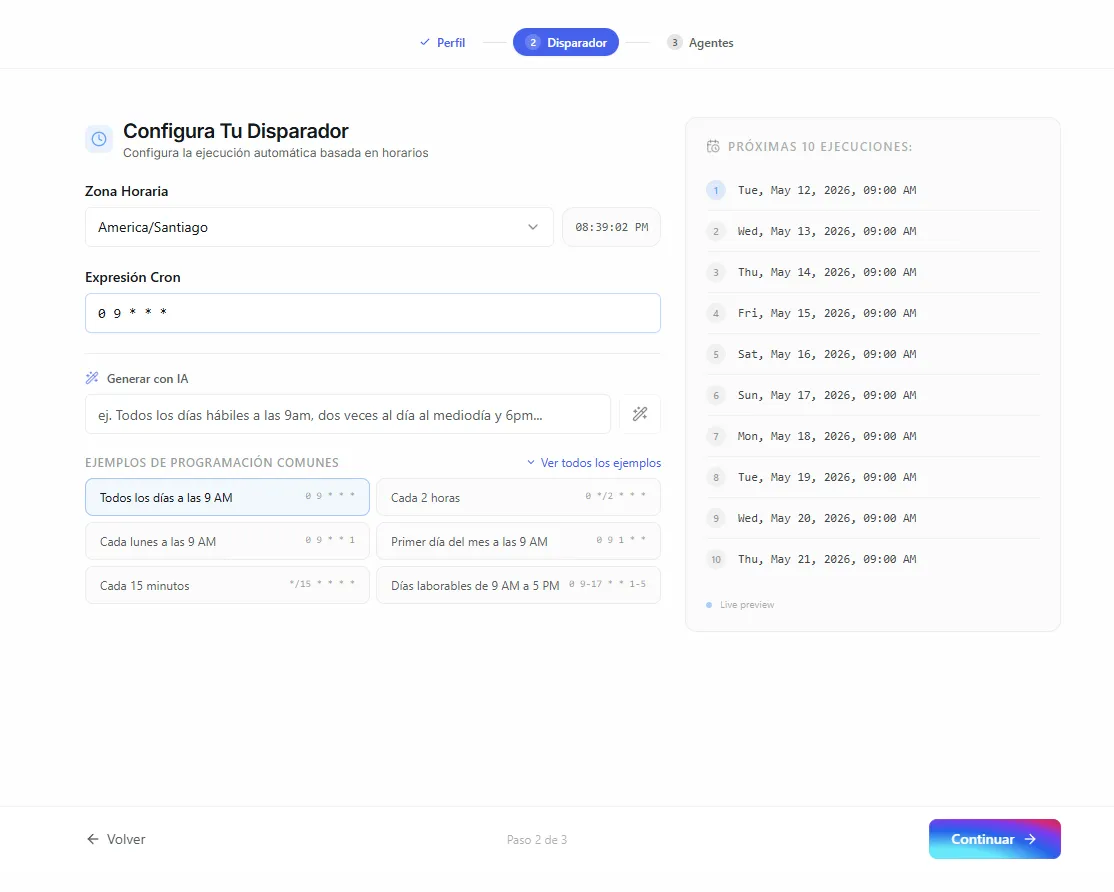 Image: The next executions preview showing the next 5 scheduled run times
Common schedules
| Schedule | Good for |
|---|---|
| Every day at 9:00 AM | Morning reports, inbox summaries, daily monitoring |
| Every Monday at 8:00 AM | Weekly digests, performance recaps |
| Every hour | High-frequency monitoring, social media tracking |
| First of every month | Monthly analytics, billing summaries |
All schedules use your timezone, so "9 AM" means 9 AM where you are, not where Nirvai's computers are.
Webhook — "run when another app sends data"
A webhook is the automatic alert another app sends Nirvai the moment something happens — like a doorbell that rings when someone arrives at your door.
In simple terms: Nirvai gives you a unique web address (a URL), you paste it into another app (like Stripe, Shopify, or a form builder), and every time that app has new information, it sends it to your address and your automation runs on its own.
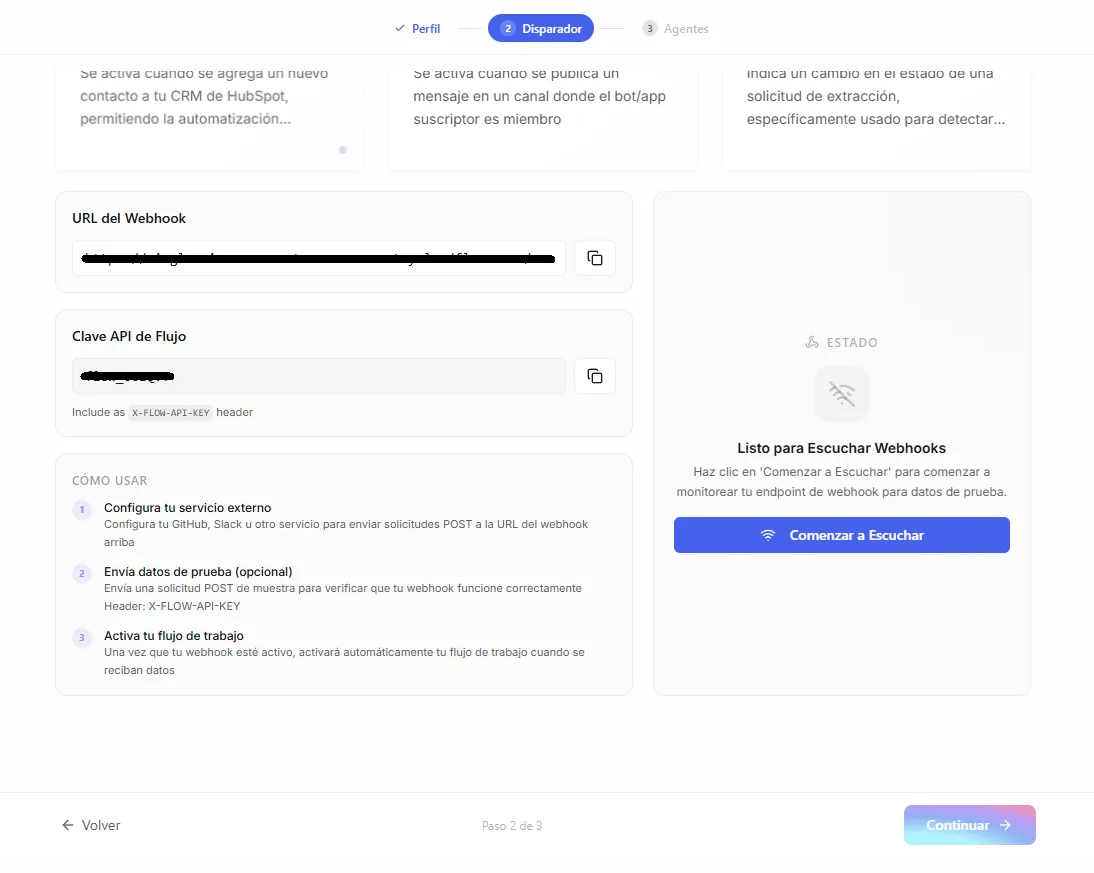 Image: Copying the generated webhook URL and access key
Setting up a webhook
- Select Webhook as your trigger type.
- Nirvai generates a unique URL and an access key (a private password that lets the other app reach your automation).
- Copy the URL and paste it into the other app's webhook settings.
- Add the access key where the other app asks for a header named
X-FLOW-API-KEY. (A header is just a small label the app sends along with the data so Nirvai knows the request is allowed.) - Send a test request from the other app to confirm the connection works.
How webhook data flows
The information sent by the other app becomes the starting input for your first agent step. Your agent can read and work with that information as part of its instructions.
Common webhook sources
| Service | What triggers it |
|---|---|
| Stripe | A payment is completed, a subscription is created |
| Shopify | A new order is placed, inventory changes |
| Typeform / Google Forms | A form response is submitted |
| GitHub | A new issue is opened, a code change is merged |
| Zapier / Make | Any trigger from thousands of connected apps |
Your webhook URL comes with an access key for security. Only requests that include the correct X-FLOW-API-KEY header are accepted — everything else is turned away.
Testing your webhook
You can send sample information to your webhook to make sure everything works before connecting the real app:
- Open your automation's trigger settings.
- Use the test data panel to send a sample of the information the app would send.
- Watch the automation run with your test data.
- Adjust your agent instructions based on how that information is shaped.
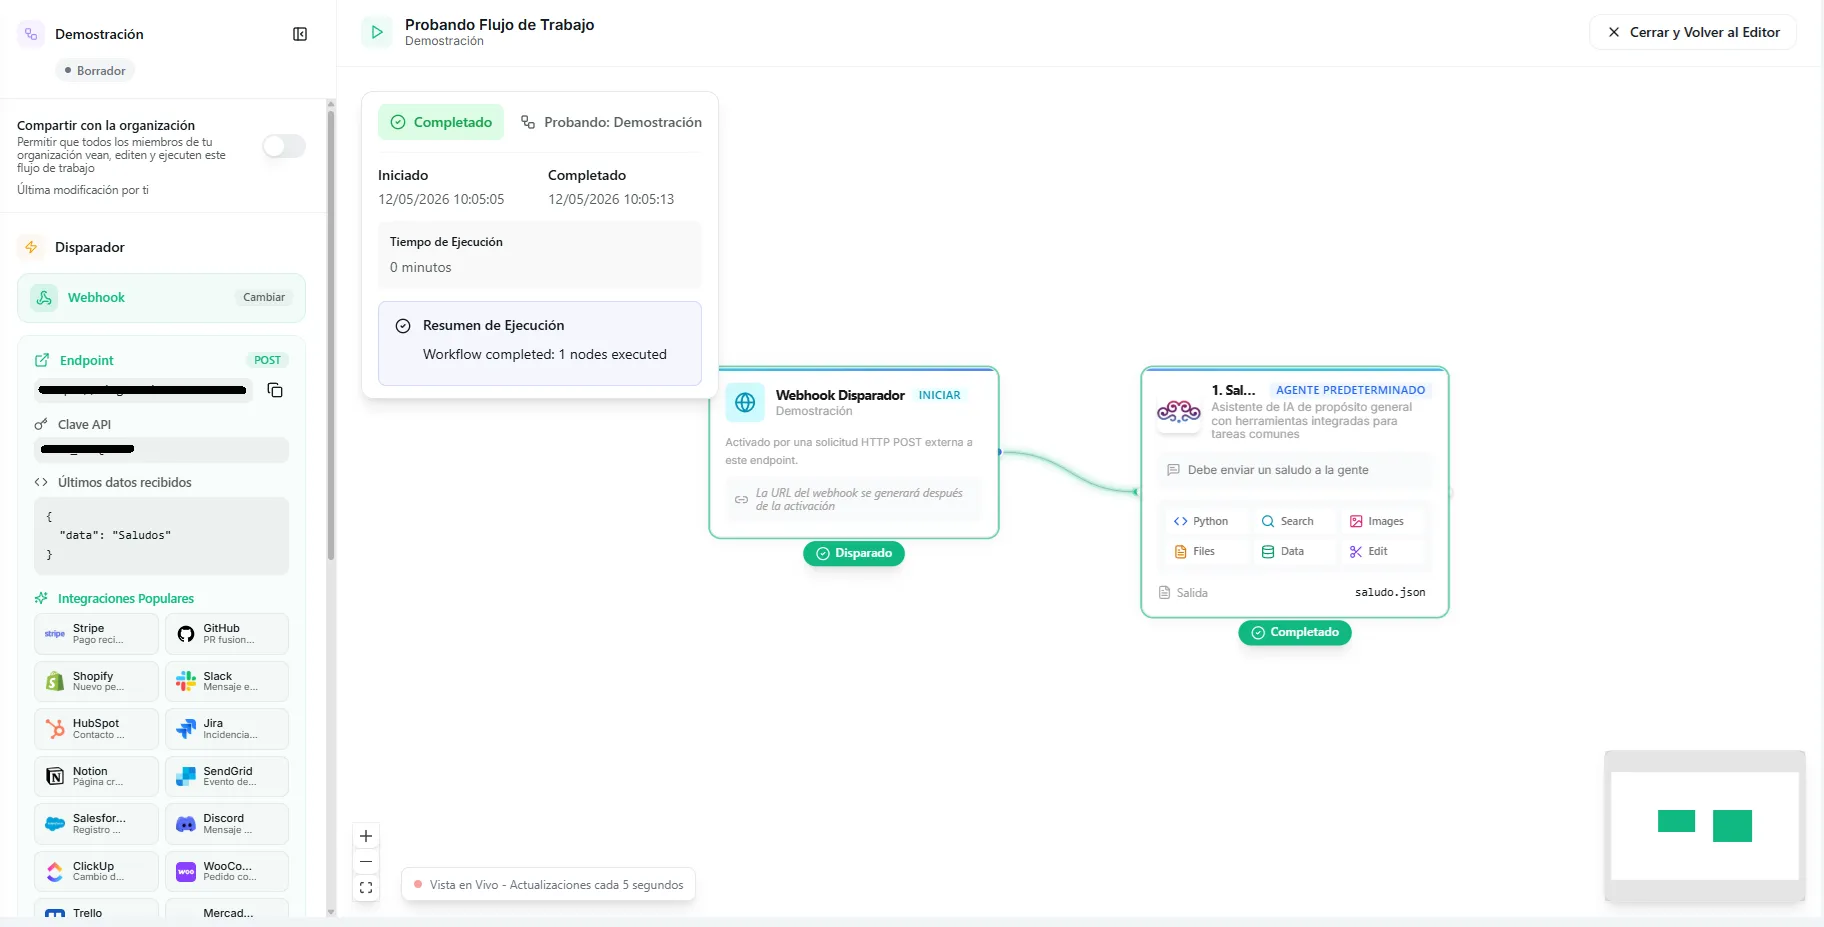 Image: Sending test data to a webhook trigger
Manual — "run when I press a button"
A manual trigger runs your automation only when you start it yourself — no timer, no outside events, just a button you press when you're ready.
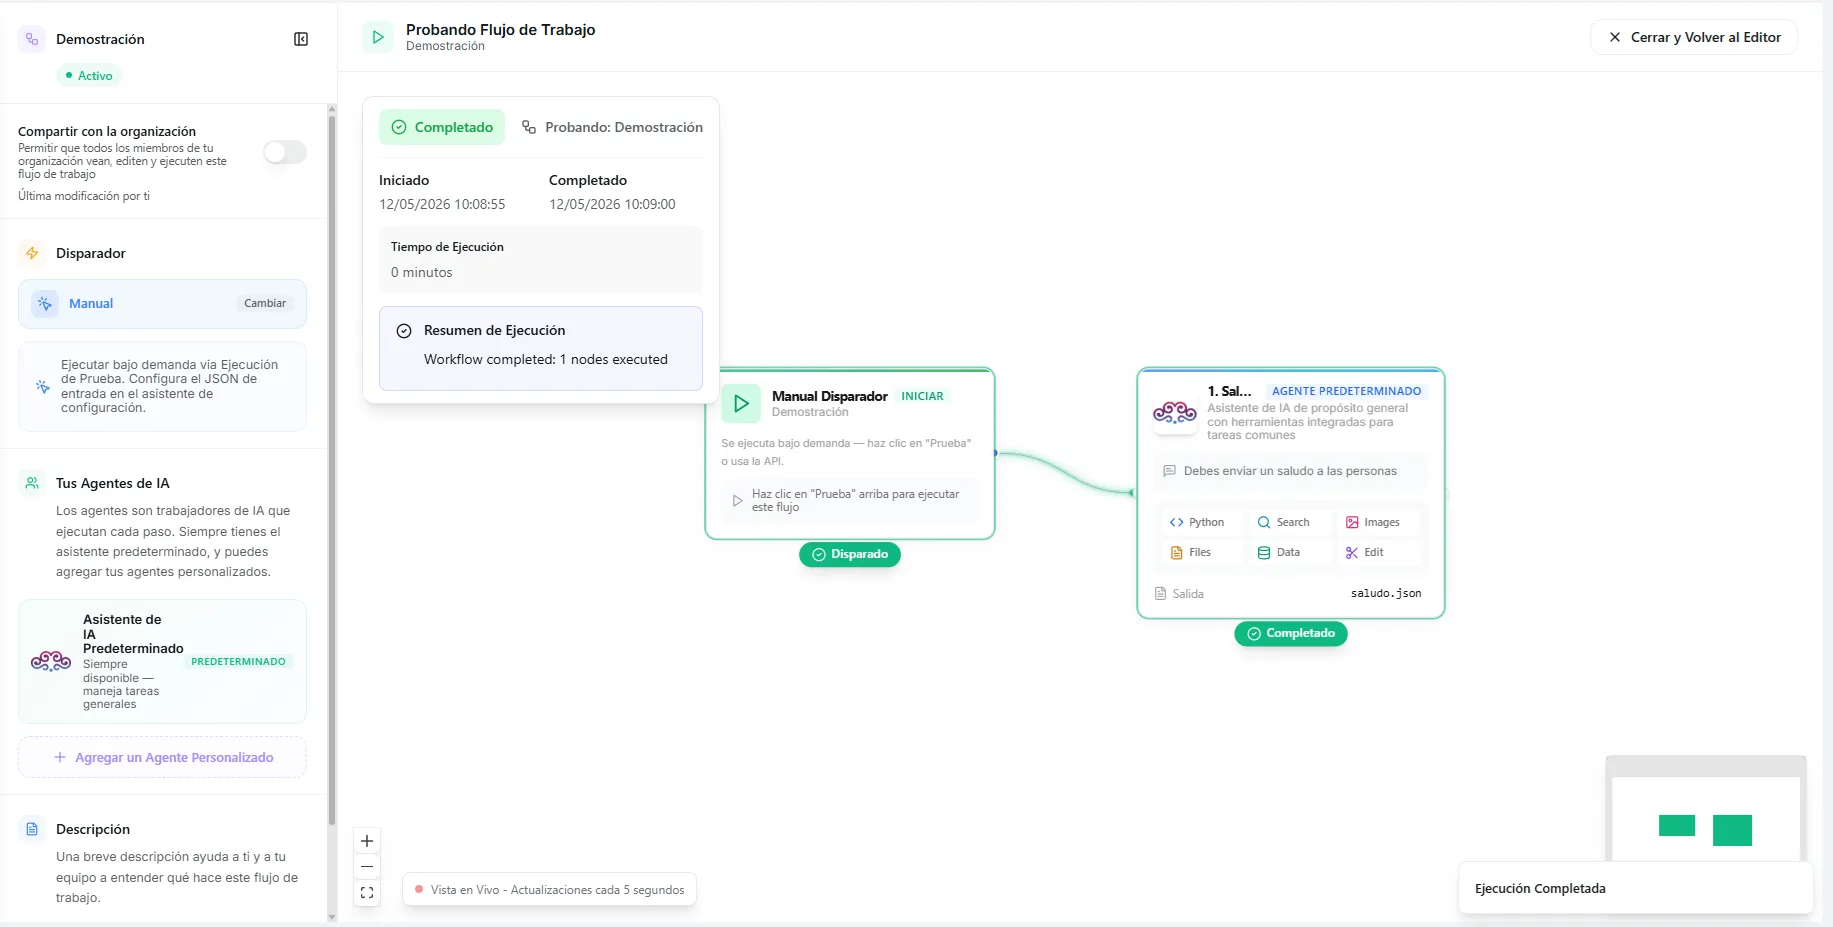 Image: The Run button on a manual automation card
When to use manual
- One-off tasks — "Analyze this document I just uploaded."
- Batch processing — "Process all the leads I collected this week."
- On-demand reports — "Generate a summary of this quarter's data."
- Testing ideas — You want to run a process a few times before committing to a schedule.
Running a manual automation
- Go to the Automations page.
- Find your automation card.
- Click the Run button.
- The automation runs right away, and you can follow the progress in the Live View.
Changing your trigger later
You can change the trigger type after creating an automation. Open the automation in the editor, go to trigger settings, and switch to a different type. Your steps and agents stay the same — only the way the automation starts is different.
If you switch away from a Webhook trigger, any apps pointing to the old webhook URL will stop working. You'll need to set up a new URL if you switch back.
Troubleshooting
| Problem | Fix |
|---|---|
| My scheduled automation ran at the wrong time | Schedules use your timezone. Check that your account timezone is set correctly, then review the "next 5 upcoming runs" to confirm. |
| My webhook never fires | Make sure the URL is pasted correctly in the other app and that the app is sending the X-FLOW-API-KEY header with the exact access key Nirvai gave you. |
| The other app reports an error when sending | The request is likely missing or has the wrong access key. Copy the key again from the trigger settings and re-paste it. |
| My agent doesn't understand the webhook data | Use the test data panel to send a sample, see how the information is shaped, then adjust your agent's instructions to match. |
| I don't see a Run button for my manual automation | The automation may not be activated yet. Activate it first, then the Run button appears on its card. |
What's next
After choosing a trigger, continue to AI Setup and let the AI design the rest of your automation for you.