Records
Each record in your database is more than a row in a table — click it and it opens as a full page, like a document in a notebook. The page shows the record's icon, title, and details, plus a space for rich content: notes, briefs, procedures, or anything else worth keeping next to your data.
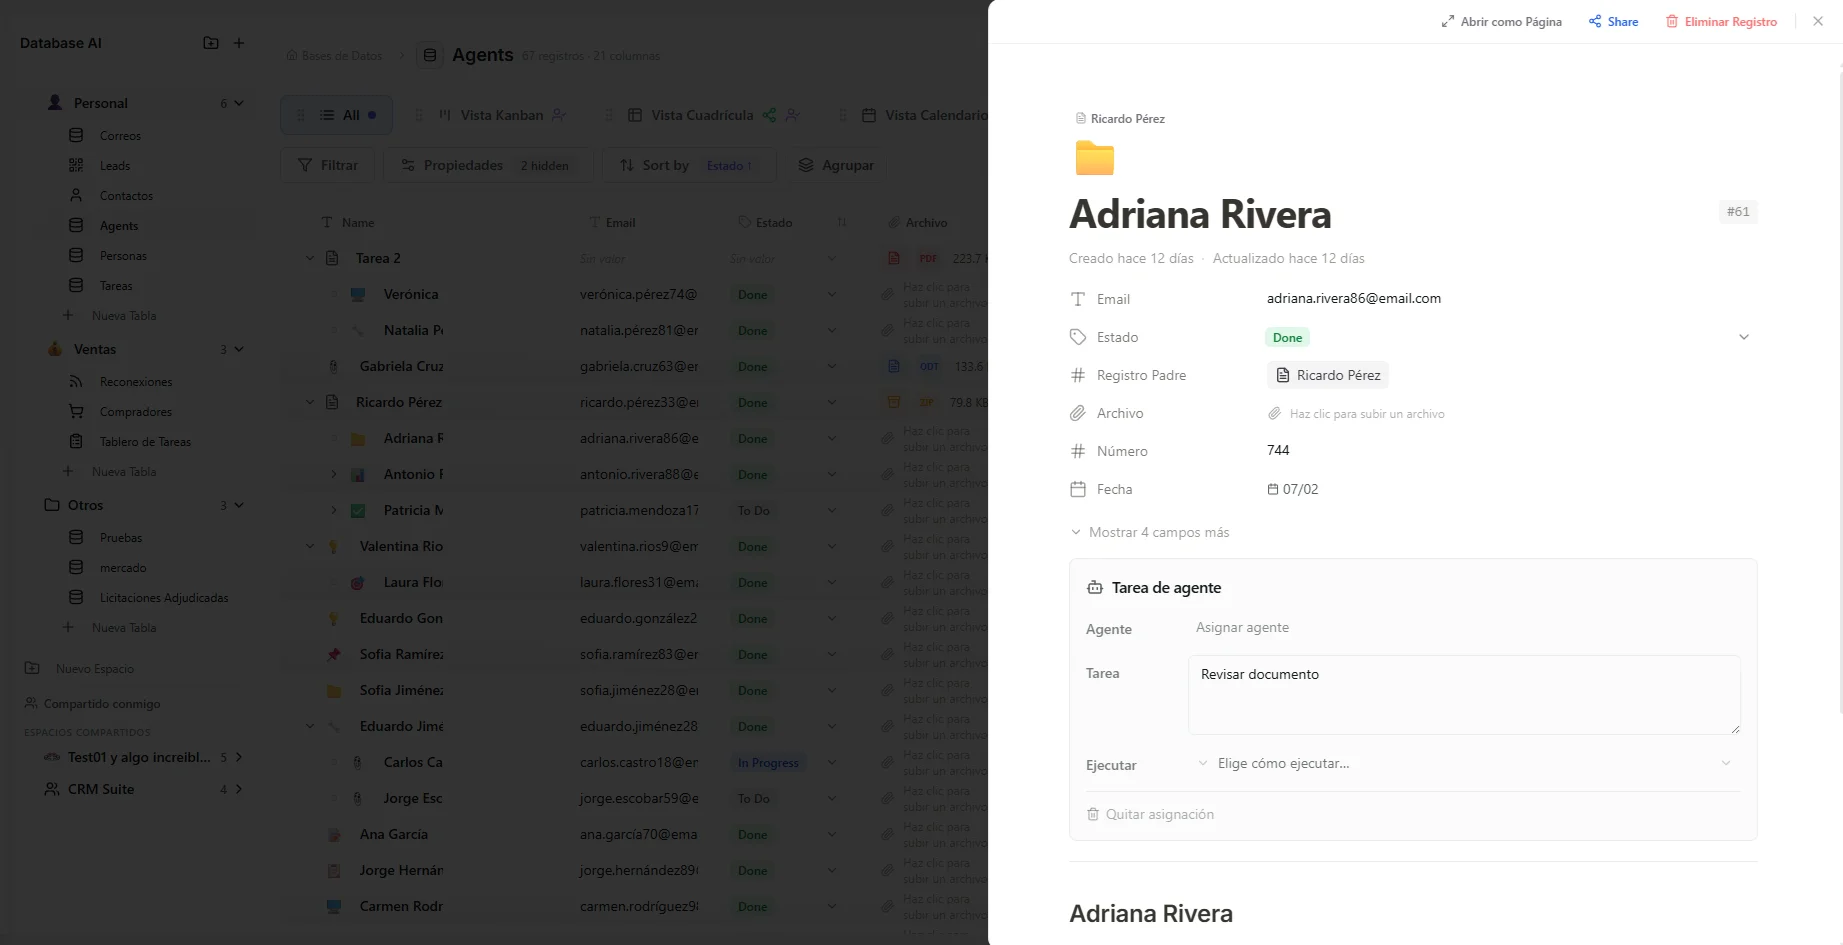 Image: Record page showing icon, title, properties, and content
Work with records
- Add — click "+ New" (bottom of the table in Grid/List, bottom of a column in Kanban).
- Edit in place — click any cell; it becomes the right input for that column (text box, dropdown, date picker…). Enter saves, Escape cancels.
- Delete — right-click a record, or use the delete button on its page. This also deletes the page content.
- Open as page — click the record; use "Open as Page" for a full-screen version with its own link.
Write on the page
The content area below the properties is a full editor. Type / for blocks (headings, lists, tasks, quotes, code, Mermaid diagrams, callouts, columns) and select text for the formatting toolbar (bold, colors, links, "turn into"). Content is stored as markdown (a simple text format), so your agents can read it and it exports cleanly.
There's no save button — the page syncs live as you type and stores itself moments after you stop. Closing the page never loses work.
Edit together in real time
When several people open the same record, they edit the same live page — changes appear letter by letter, each person's cursor shows with their name, and nobody overwrites anyone. Your agents work on the same live page: watch one add a summary in real time without it ever moving your cursor. Guests you've invited with edit permission join the exact same way. If your connection blips, the page reconnects on its own and refreshes to the latest shared version.
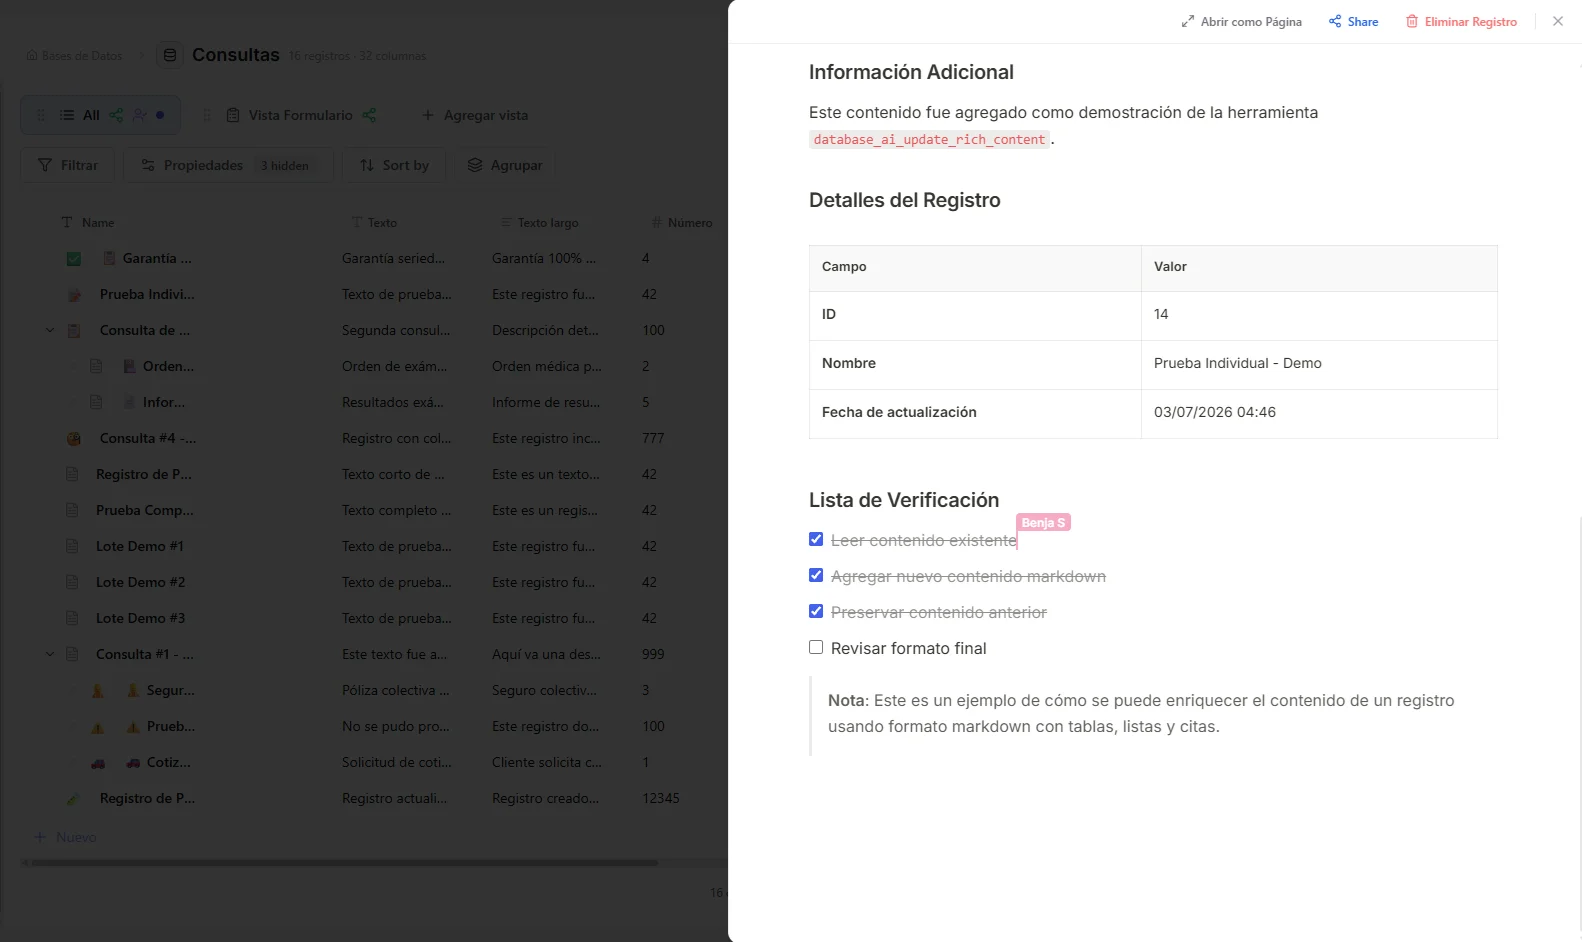 Image: Two people editing the same record page, each cursor labeled with a name
Use records as documentation
Because every record is a page, a database can be your knowledge base: meeting notes on each client, briefs on each project, procedures your agents keep up to date. Unlike a folder of documents, records have columns — so your documentation can be filtered, sorted, and used by automations. One rule of thumb: facts you'll filter by go in columns; the story goes on the page.
Share a record
Click Share on the record page:
- Public link — anyone with the link can view the page, read-only, no account.
- Guest invitation — invite a specific person by email with View or Edit permission and an expiry (7 days by default). Guests with Edit collaborate live, cursor and all.
Only that record is exposed — the rest of your database stays private. Teammates don't need any of this: just send them the page's own link.
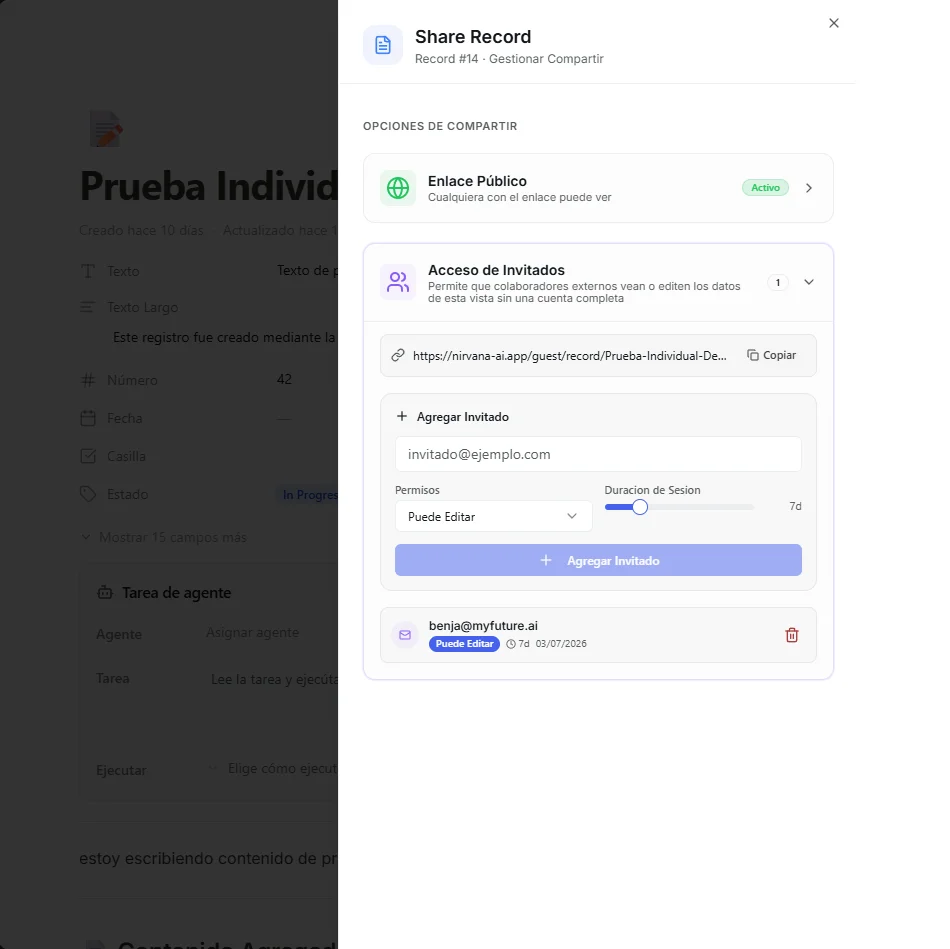 Image: Record share dialog with public link and guest invitation options
Troubleshooting
| Problem | Fix |
|---|---|
| I still see a Save button on the content | Refresh your browser (Ctrl/Cmd + Shift + R) — you're on an older version of the app. |
| I don't see my teammate's cursor | They need the record page open (not just the table). Ask them to open it, or refresh. |
| Something I typed disappeared | Your connection likely dropped mid-typing — the shared version wins on reconnect. Retype the missing part. |
| A shared link stopped working | The public link was turned off or the guest's access expired. Re-enable or invite again. |
| The slash menu won't open | Type / at the start of an empty line in the page content, not in a property field. |
What's next
- Pick the right view for browsing records.
- Set up filters to focus on what matters.
- Connect the database to an agent so it can read and maintain your pages.